LET'S BUILD THINGS!

I got my motor and 14-tooth pulley first, so I started my machining there. I threw the pulley on a lathe and drilled the bore hole from 6mm to 8mm so I could fit it onto the motor shaft. I also drilled and tapped my own setscrew hole between a couple teeth to make sure it stayed on.

I then got a 12 inch x 4 foot aluminum plate for the chassis and fork, so I turned the CAD file into essentially this mess (plus the brake plates and the Crüscooter text).
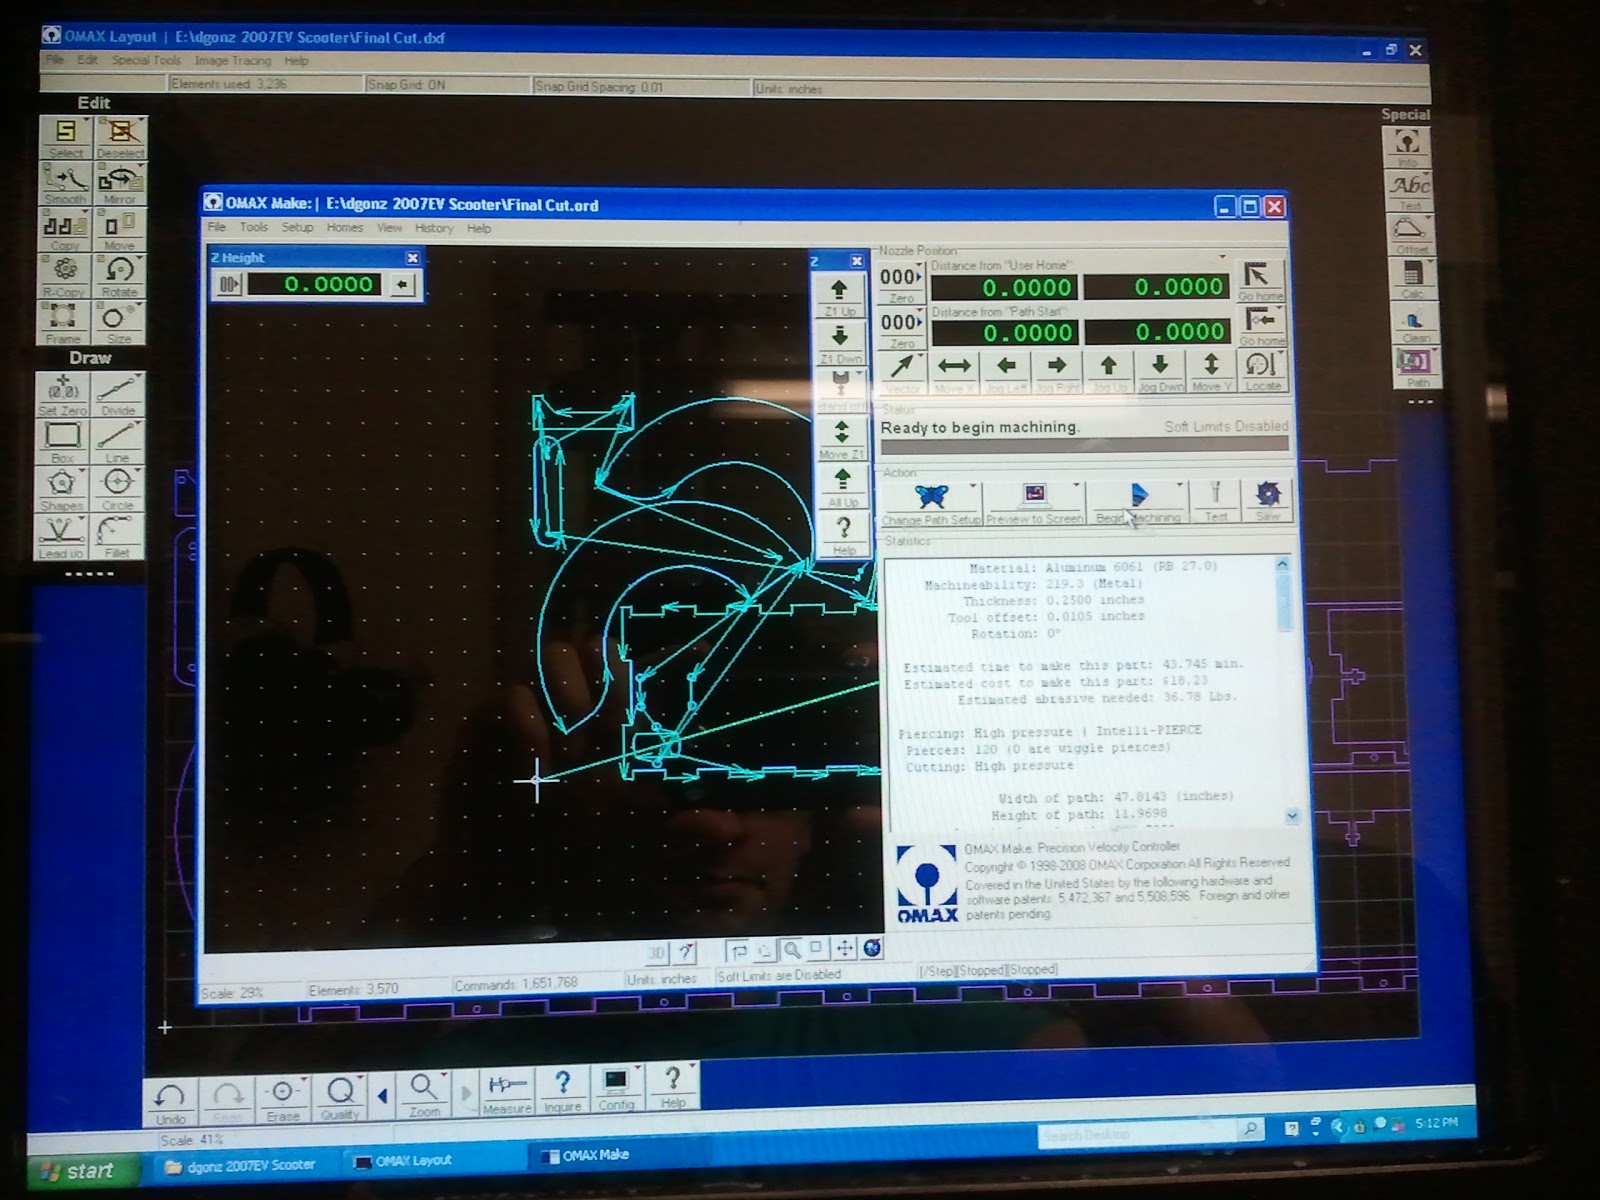
I had a ton of trouble in OMAX layout getting the toolpath to do the right thing. You need to inspect the generated toolpath to make sure it makes doesn't cut holes around the outside or parts along the inside. FFFFFFUUUUUUUUUUUUUUUUUUUUUUUUU-

I finally got it working after hours of troubleshooting. I also set the tool offset to slightly less than the actual amount in order to make sure the parts fit together and I didn't have to dremel every tab.

And the cut is complete after a 40-minute run! Not without issues though, of course. Some of the tinier parts floated away and passed through the channels that hold the part up. And thus comes the first big thing I learned in 2.007: Use tabs to hold smaller waterjetted parts in place so they don't float away!

But everything else looks so pretty. Look at it!

Oh wait, another mistake. Because the part wasn't properly clamped at one point during the cut, this part floated around leading to these unfortunately shaped t-slots and tabs. Next thing I learned in 2.007: Clamp your parts well, and make sure they will all be clamped for the entire cutting duration. I found a free scrap of aluminum and cut a new side and the tiny parts that floated away, this time with better results

ANOTHER mistake I made was let the waterjet run out of abrasive material. See, waterjets throw a bit of sand into the high-pressure water to make cutting through metal easier. Luckily for me, it only ran out of abrasive when it was cutting my name, an unimportant part. I let it be, I'll mill/dremel/chisel it out one of these days.

Photo op. Damn, this came out pretty.

With the help of a mallet and some clamps, I was able to force the chassis together! Even with the tool offset modification, this was difficult to do.

I added the nuts, bolts, and rear wheel assembly. This thing is really coming together quickly.

I threw in the motor controller and batteries for size. It all fits, but there's not much wiggle room for all the wires and connectors.

And here's my fork! I used a Razor A3's handlebar assembly, and just swapped out the wheel work with my own. The A3 has a cool shock absorbing system that I kept in my scooter. The fork is pinned to the assembly and has a rotational degree of freedom. Then, a chunk of rubber is sandwiched between the fork and assembly, constraining the degree of freedom. When enough force is exerted though, the rubber compresses, damping the force's transfer to the rest of the assembly. Along with my nice, cushiony 8" tires, I can ride over railroad tracks at full speed without skipping a beat.

I didn't take into account the size of the Razor A3's adapter when i designed it. Whoops. Nothing a Dremel can't fix...

I'm going to need to make myself new handlebars if I want to fit the throttle. I just need another inch or so, so I'll make them out of the same-diameter aluminum I made my firestaff out of. (That's not me in the video, I'm not NEARLY that good yet).

And here's everything I've done so far. Rapid prototyping ftw!

And that's enough for now. Oh look, the sun's up. I think I'll going to go outside or something...
I like all the pictures..Nice blog which represents the mechanical engineering vast future...
ReplyDeleteThanks for sharing with us.
I like your blog post.
Swift